In addition to the pre-defined system groups, you can create your own
groups at any time. However, it is recommended to give the group
structure a lot of thought at the very beginning. Major changes in the
group structure may result in a huge amount of additional time and
effort.
We
recommend creating a group called "administration" first. You
should assign yourself to this group and provide it with write permissions for all services (see chapter Assign service permissions).
In order to create groups, proceed as follows:
|1| Choose "Groups & Users" from the main menu by clicking on it.
|2| Click on the modify-button in the row "Editing groups.
|3| Now, you see a list of groups which you can edit. (Please note: You cannot edit the system groups universe, users
and guest.) In the beginning, only the platform main group is listed. Click on add group on the left side.
![pAdmin - group add [en] - 245796.2 pAdmin - group add [en] - 245796.2](/images/245796.0)
|4|
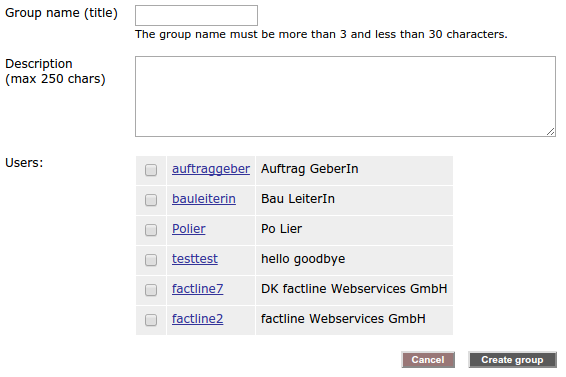
An input form opens. Enter a group name and a short description. In
addition, you see a listing of all the users who are already registered
on the platform. Select those users which should become members of the
group.


User info - Every username is a link. As soon as you click one of these links, you will see the available information regarding this user.
|5| In order to finish, click on "Create group" below the input mask. In order to stop the process, click on the "Cancel"-button.

What are user groups for? - The p-admin assigns access permissions for services to groups (see chapter "Assign service permissions").
In addition, users decide which groups should be allowed to read and
edit their content during the pubilcation process (see chapter "Assign service permissions").
|

